


How do I make my iPhone video look better with one lightbulb?
My “that’ll do” 10 minute setup


Hello!
It’s overwhelming to try and recreate an elaborate video setup by yourself, just to shoot a video of yourself. The tiny tweaks and adjustments take longer because you are both the subject and the director.
On a cloudy day, I shot a video of me in my kitchen. It looked too dark, even with two windows and a few ceiling lights on. How could I make this look any better? How do most Youtubers and social media influencers do this?
Out of sheer curiousity and possibly boredom, I stumbled into a setup that works, mostly because I kept tweaking it until it was something I liked. It took much less time than I thought. It uses equpment that cost around $26 and possibly less if identical items exist in your house already.
It requires three simple steps:
Setup a phone on tripod and set it at eye level.
Setup a light an arm’s length away a foot taller than you and point it down.
Record (and profit)
How to do step #1: Setup a phone on a tripod and set it at eye level.
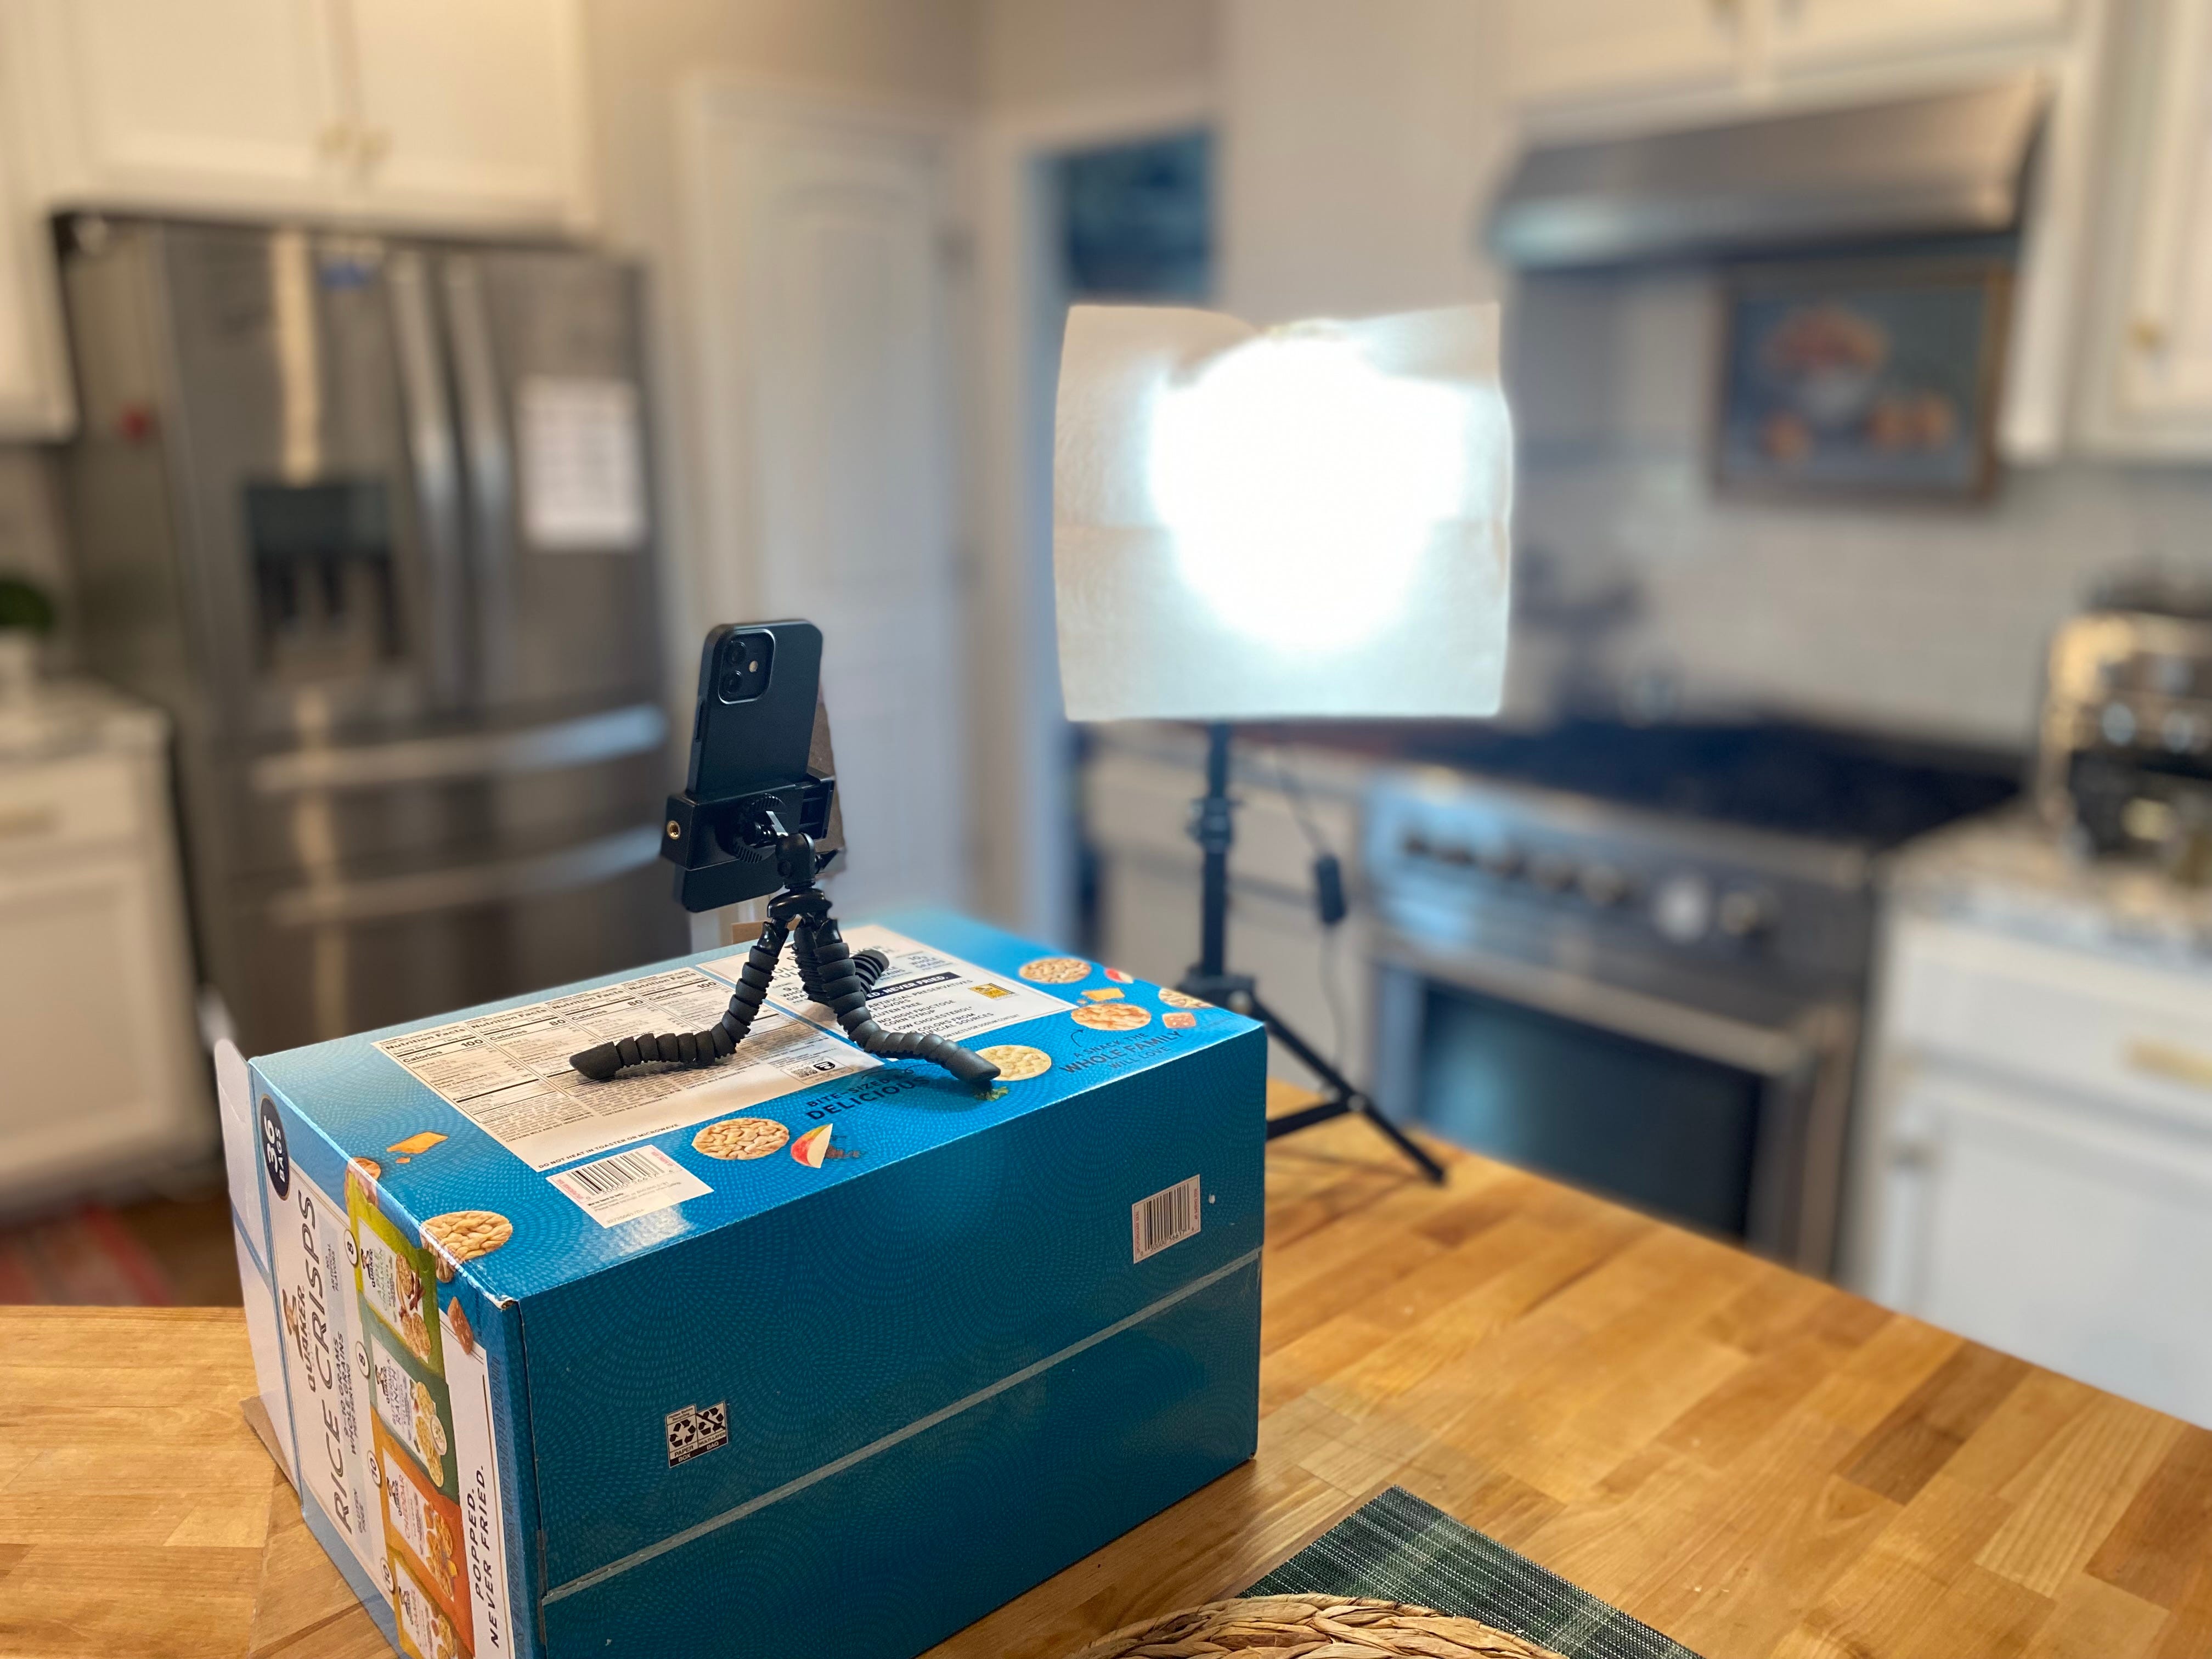
I have a flimsy flexible desktop tripod with a phone mount. It’s maybe 8 inches tall. If I set it to “selfie” it is not a great angle. I learned in “TV school” (what my co-workers all call my Bachelor’s degree in Electronic Media & Film) that the eye level of a camera can set the mood of a shot. Set a camera too high and it’s literally looking down on the subject, too low and it can be unflattering. To create an easy breezy conversational shot, aim for eye level of the subject.
The only problem is my flimsy flexible tripod is short. I needed another 8 to 10 inches, so I went with the most creative thing I could think up: put it on top of something 8 inches tall. I tried an upside down bowl, but it was too short. A roll of paper towels was too tall and wobbly. Luckily, I found a Quaker Oats Rice Crips box that was exactly 9 inches on one side.
How to do step #2: Setup a light an arm’s length away a foot taller than you and point it down.
This requires a lot of give and take, especially depending on the light source and bulb specifications, but this is a good place to start. Having the light above you pointed down avoids shadows on your face. Having it at eye level can cause glare or hurt your eyes. Having it a good distance away means it’s not too bright or casting a massive shadow behind you.
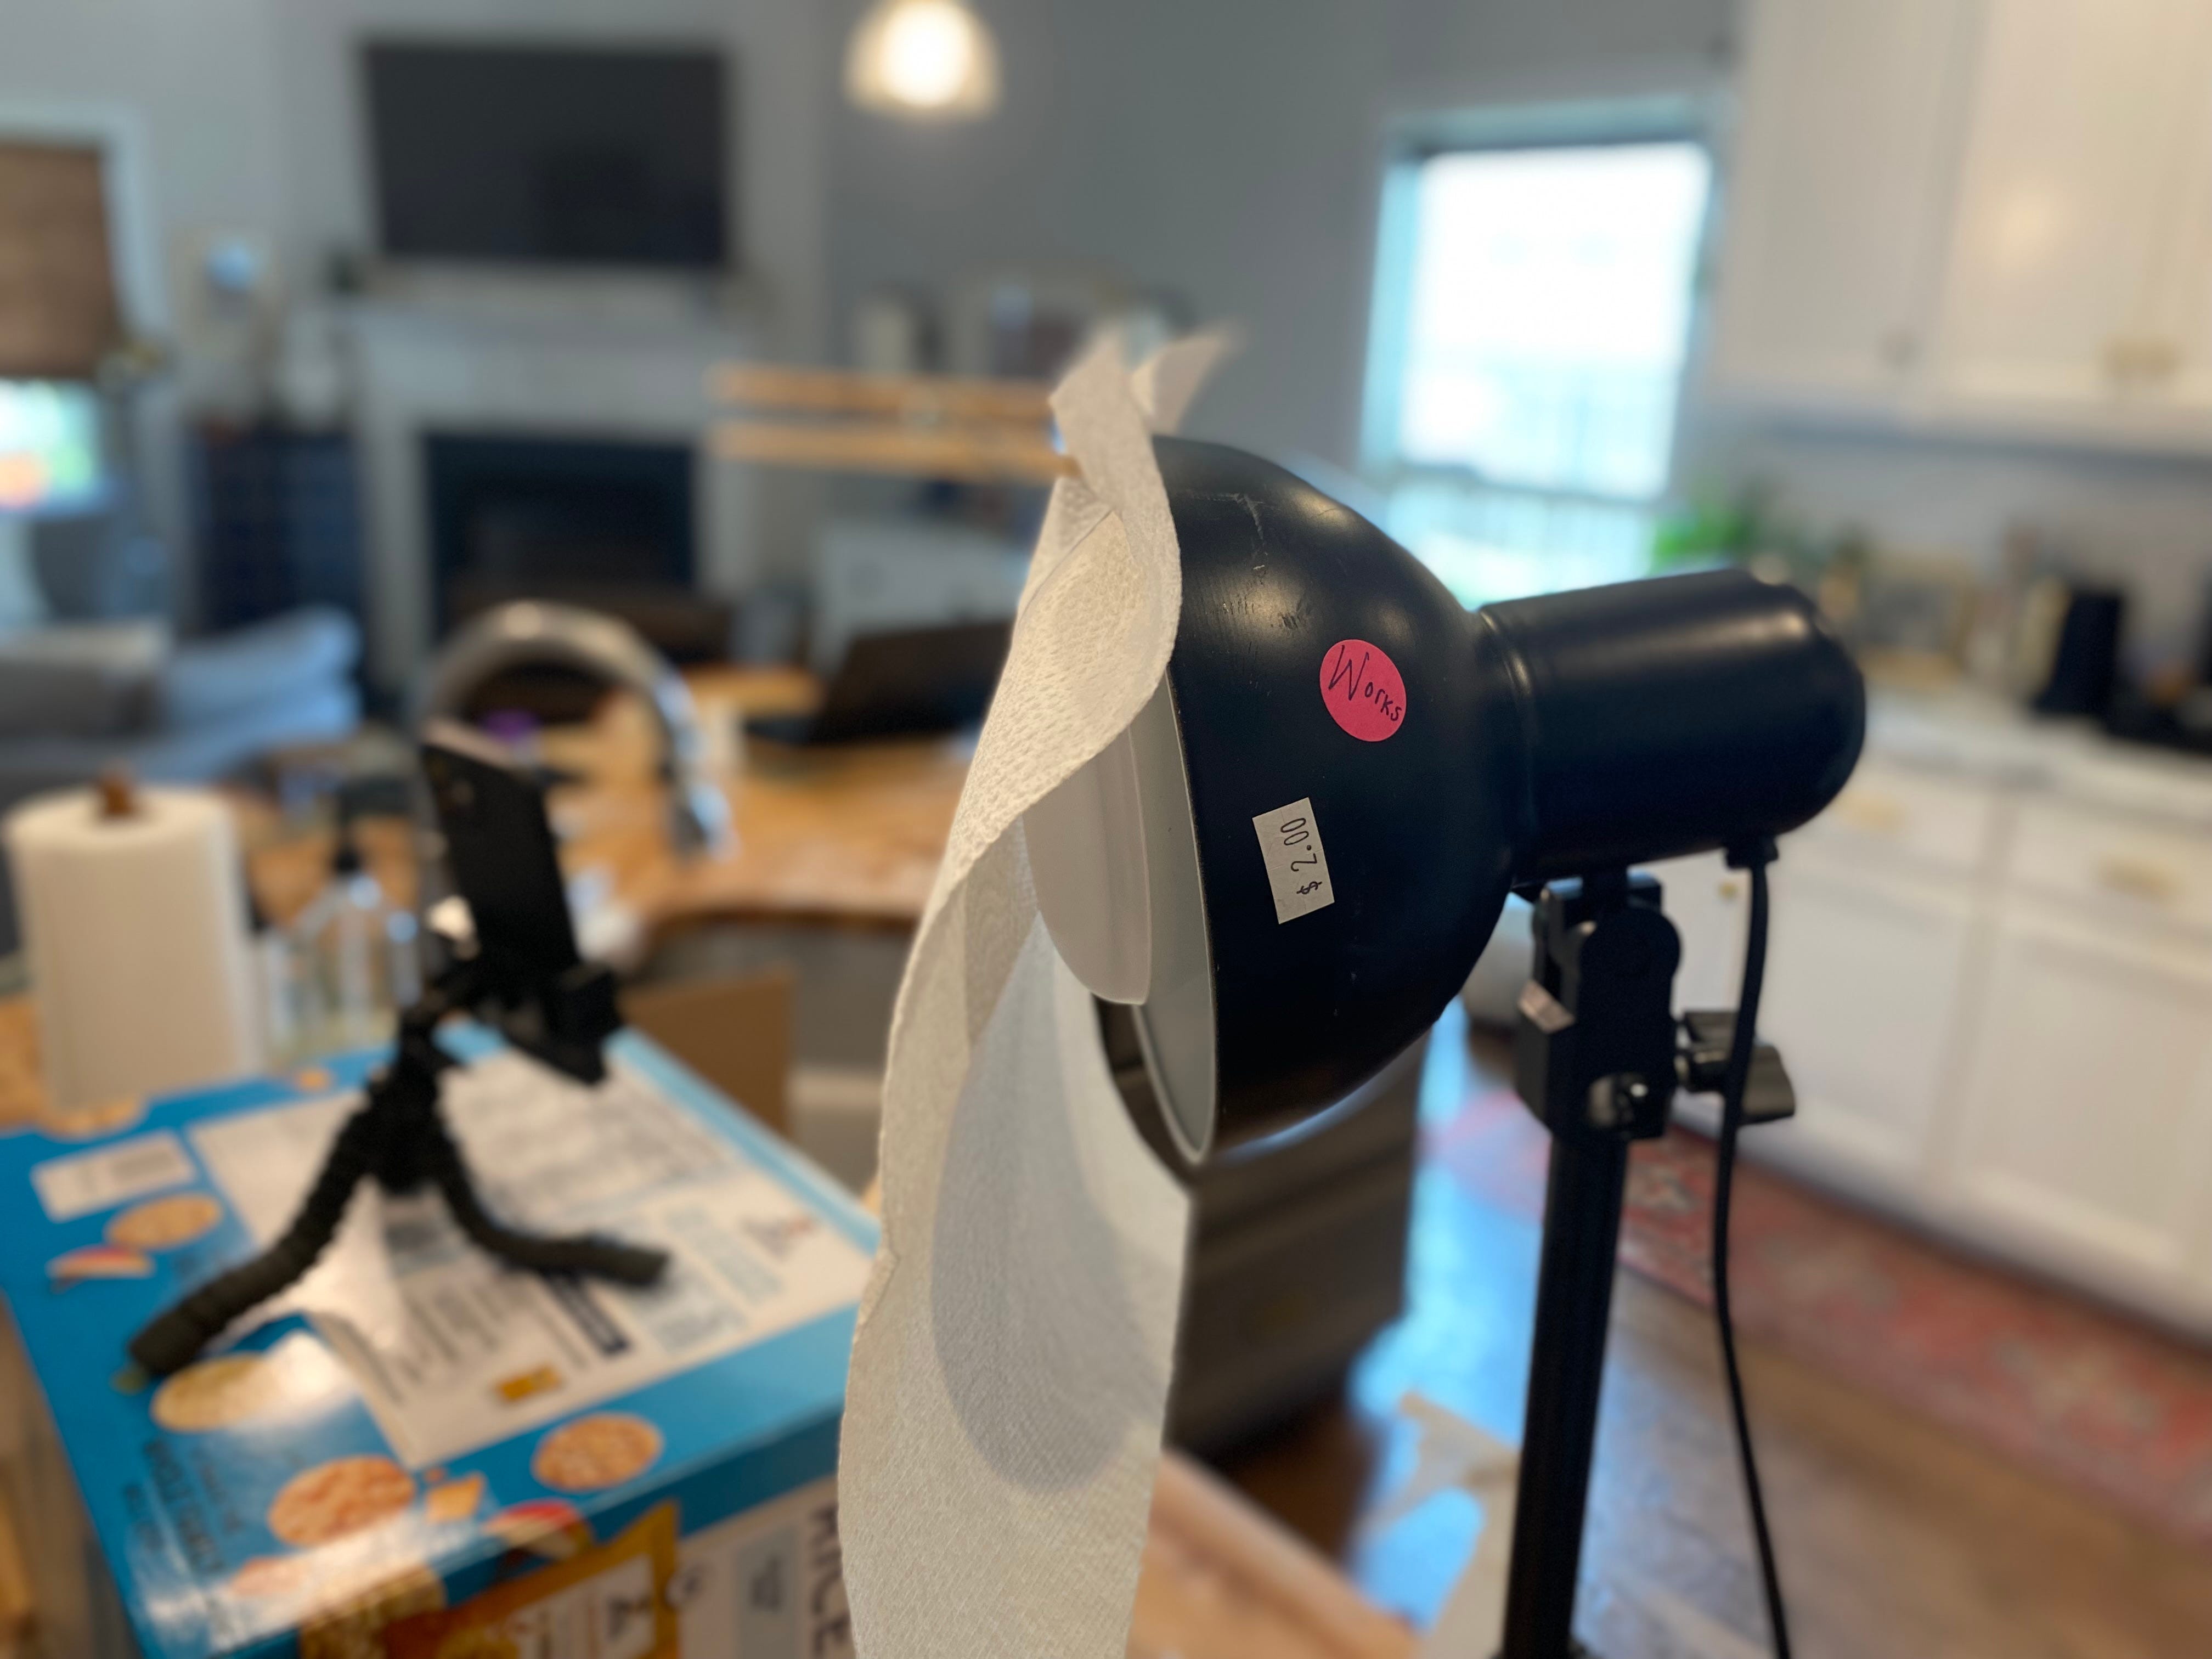
I set it up with a daylight LED bulb from Home Depot and turned it on. It looked good and bright, but the shadows were harsh. I needed to soften it, and the best way to do that is with diffusion paper. Two alternates for professional diffusion paper is parchment paper or a white shower curtain liner.
While at the store for groceries, I thought I’d get a cheap shower liner. I checked the bath decor aisle and the “back to college” section but they were sold out, so I’ll have to make do. Parchment paper is a good alternate since it’s heat resistant, but I found that it wasn’t doing a good job diffusing the light. It still had some harsh shadows and glare on my face. Since I was using an LED light (which don’t get hot), I could try other options.
Randomly, I tried using a paper towel. For some reason, this worked.
How to do step #3: Record!
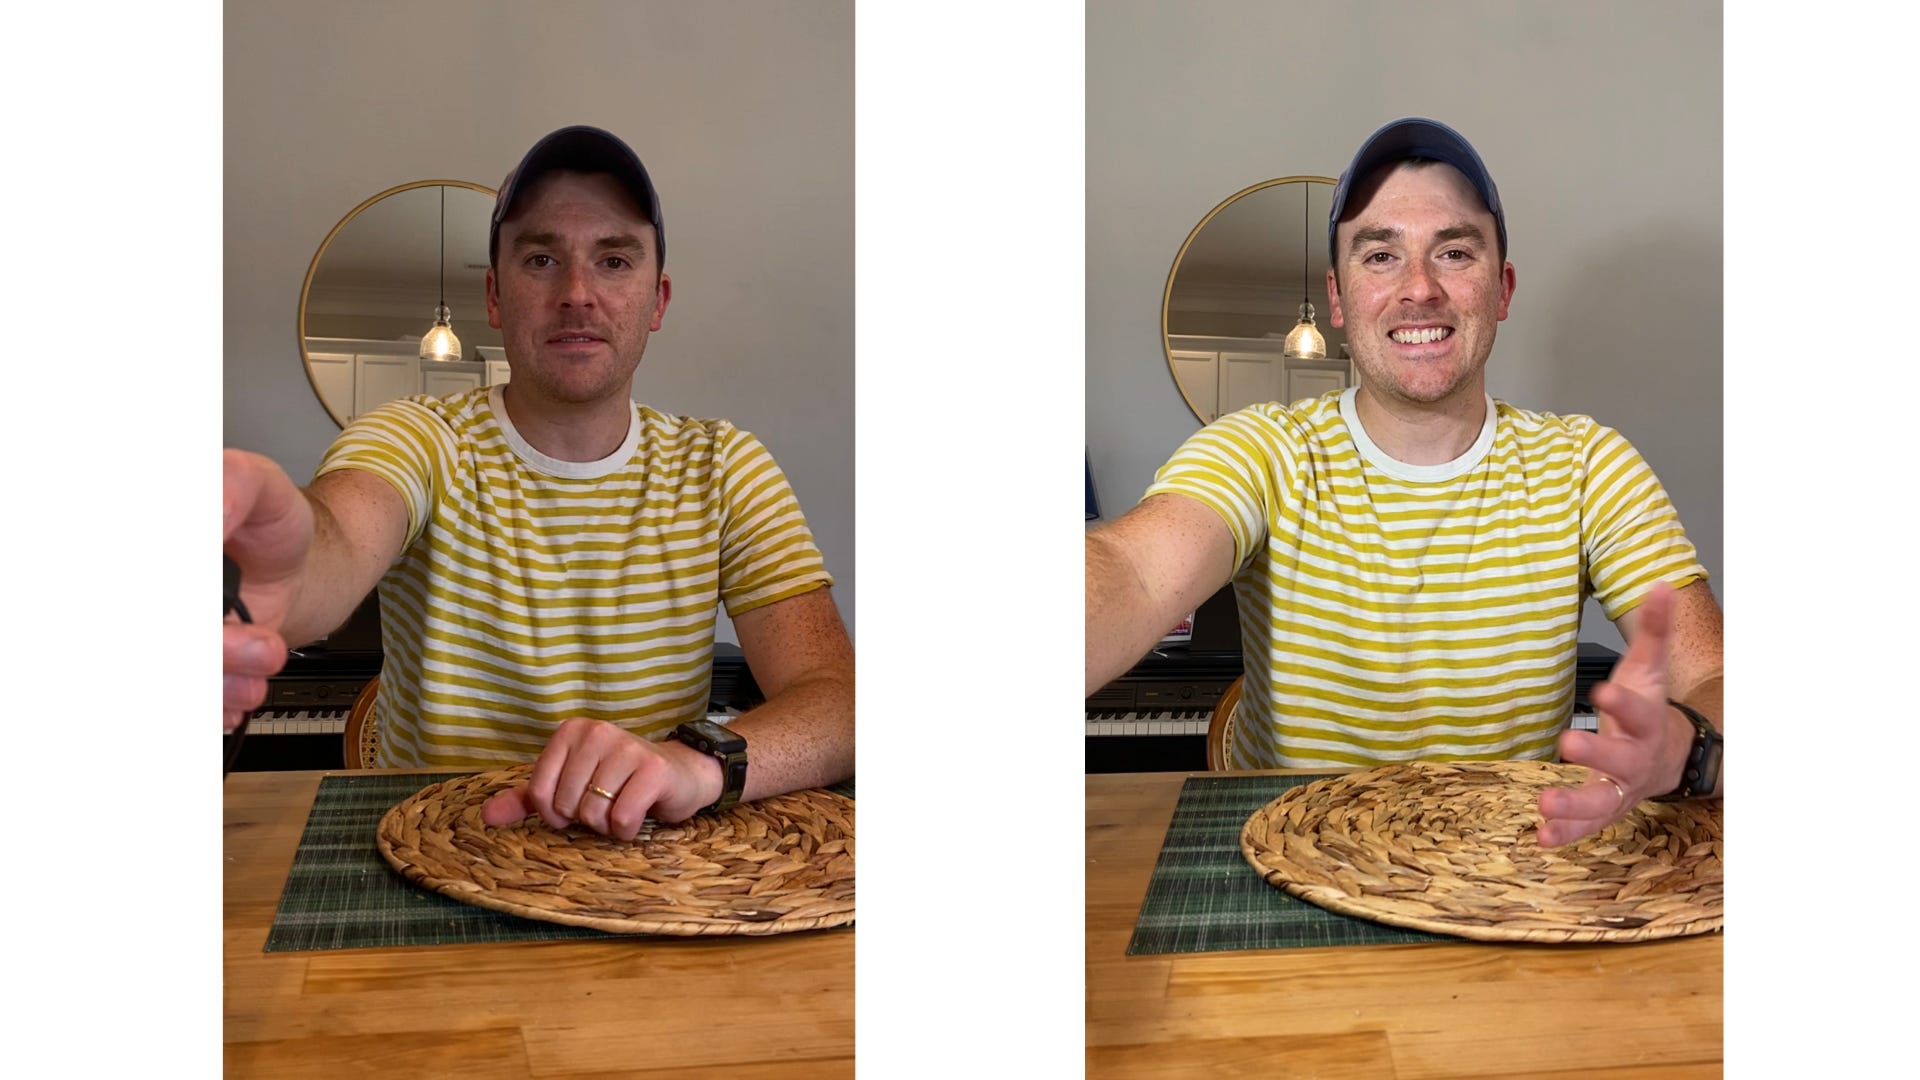
Since I was by myself, I needed to record a few tests, and then watch it back to make sure everything looked good. I even set my phone to a 10 second timer photo and then quickly get back into position. This part feels repetitive: take a test photo, review & adjust, take another test photo, review & adjust, etc.
Once everything looks good, I hit record, get back into position for the last time, and make my video.
Quick setup links:
$3 daylight lightbulb (that’s $3 per light unfortunately, it’s a $18 box with 6 bulbs)
$9 clamp light
$0 extra stuff - Paper towel, clothespin, cardboard box
Let’s review: I wanted to shoot a tabletop video and wanted to light it. My light stand and clamp light weren’t working, so I used a thrift store light instead. I put my phone on a flexible tripod, but it was too short, so I used a cardboard box to make up the difference. I couldn’t find any diffusion so I tried parchment paper, which didn’t work, so I tried a paper towel, which did.
It was a messy setup, but luckily, I only get graded on what the camera can see.
Did you follow along with this setup? Then congrats! 🎉 you did it!
This is super helpful. Thank you!!
Great ideas for frugal filming!